Evaluation Kit guide
Evaluation and configuration workflow
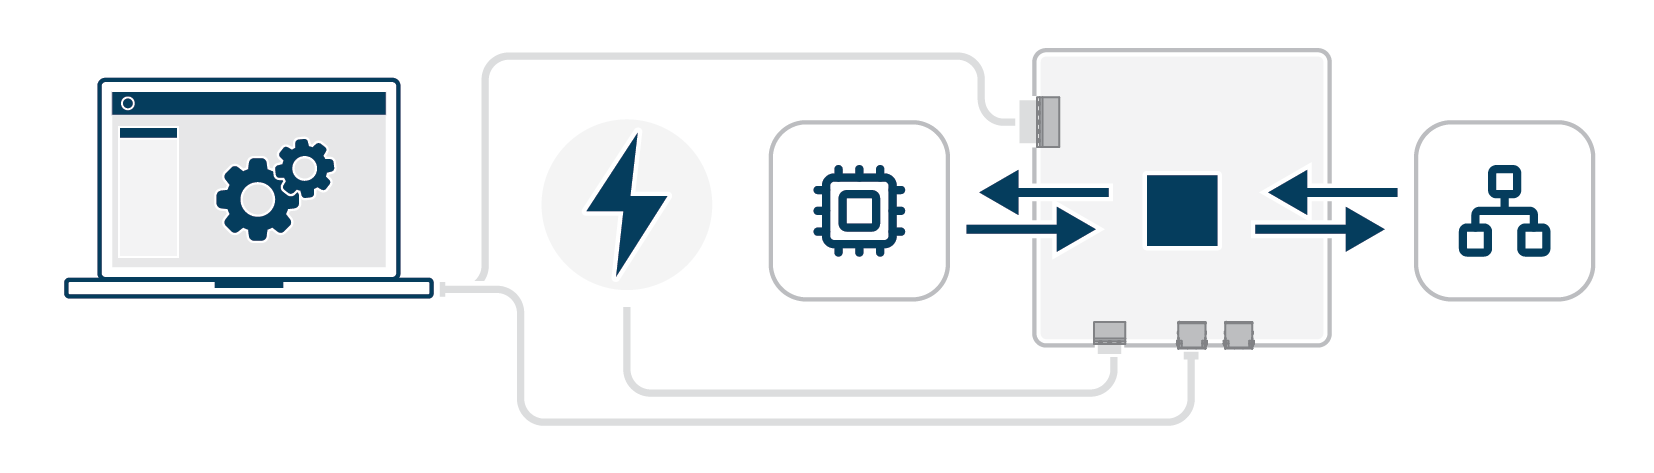 |
This topic provides an overview of the recommended workflow for evaluating and configuring the Anybus ONE System on Module (SoM) using the Evaluation Board.
Connect the Evaluation Board
Set up Evaluation Board network access
Use the pre-installed example configuration
The Anybus ONE System on Module (SoM) includes a pre-installed example configuration. This enables immediate use of the Evaluation Board without any initial configuration in Anybus Studio.
Set up Modbus RTU and PROFINET simulation directly and then verify the data exchange. See Set up Modbus RTU Simulation, Set up PROFINET Simulation, and Verify data exchange.
Once you have verified the data exchange, continue by creating your own configuration in Anybus Studio.
Create your Anybus Studio account
(Optional) Import the example configuration to explore it
Download and import the example configuration. See Example configuration: download and use and Import configuration.
Explore the configuration structure, host interface setup, and industrial network setup.
Create your own configuration
Configure the host interface and industrial network parameters, then download the configuration files and signing tool. See Create your first configuration in Anybus Studio.
Sign and install the configuration
Sign the configuration and install it on the Evaluation Board SoM. See Install a configuration on the Evaluation Board SoM.
Set up simulation with your configuration
Use your configuration to set up Modbus RTU and PROFINET simulation. See Set up Modbus RTU Simulation and Set up PROFINET Simulation. Then verify the data exchange. See Verify data exchange.